Helping you make the perfect ice cream
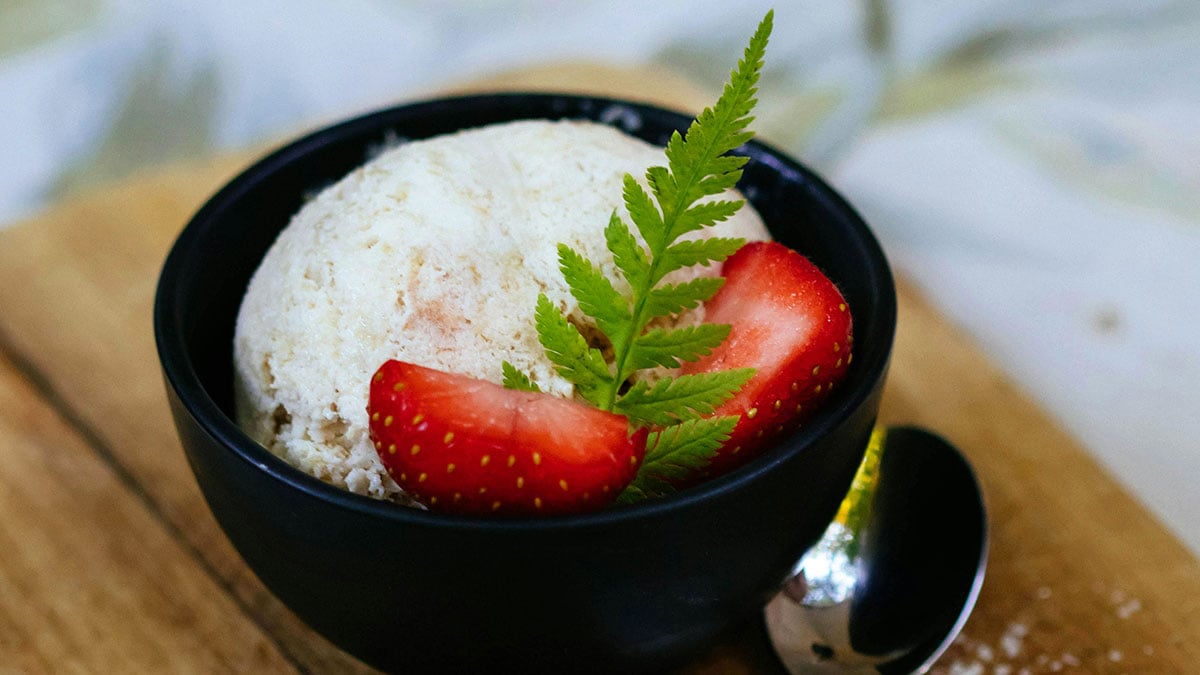
Making the perfect ice cream at home is an enjoyable and rewarding process that can be mastered with the right equipment. Here, we’ll explore how to achieve creamy, delectable ice cream using three popular ice cream makers: the Magimix Gelato Expert 11680, Ninja CREAMi NC300UK, and KitchenAid Ice Cream Bowl 5KSMICM.
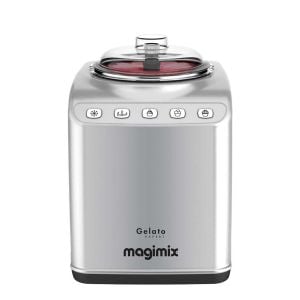
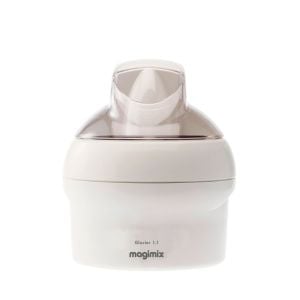
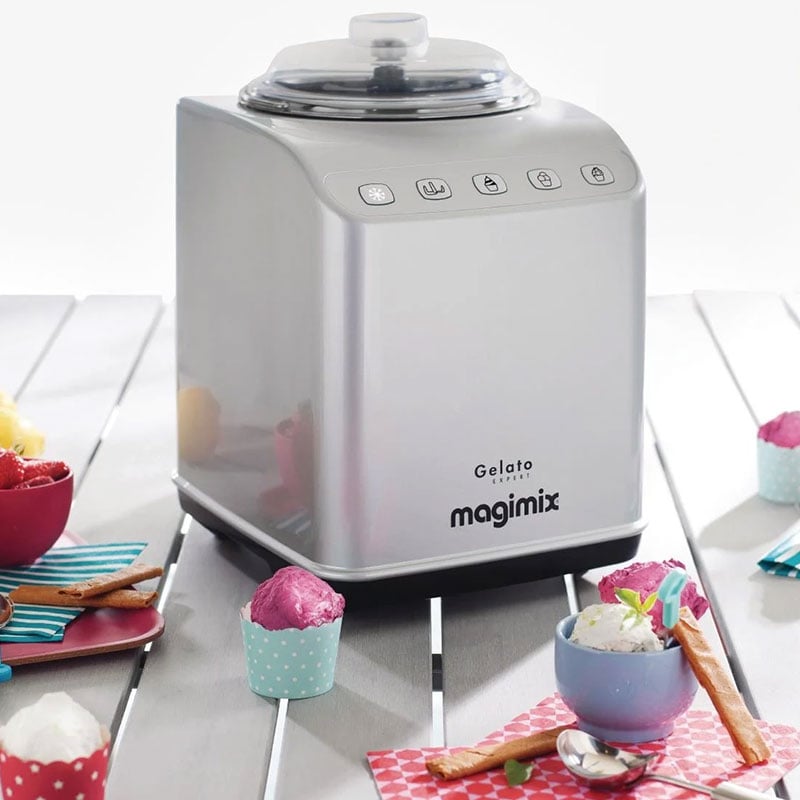
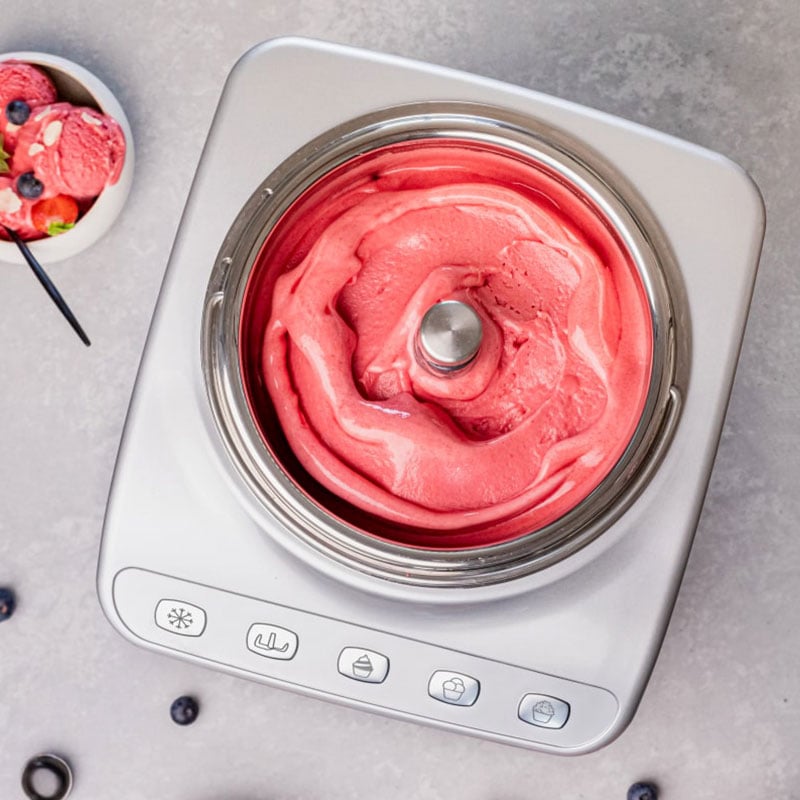
The Magimix Gelato Expert blends convenience with artisanal quality. Its self-freezing compressor allows for quick and efficient preparation of gelato, sorbet, and ice cream at home. With precise temperature control and a built-in timer, it ensures consistent results for indulgent frozen treats, tailored to personal taste.
Step-by-step guide:
- Preparation
- Chill the bowl of the Magimix Gelato Expert in the freezer for at least 12 hours before use.
- Prepare your ice cream mixture. For a classic vanilla ice cream, whisk together 2 cups of heavy cream, 1 cup of whole milk, ¾ cup of sugar, and 1 tablespoon of pure vanilla extract until the sugar dissolves completely.
- Churning
- Once the bowl is thoroughly chilled, set up your Magimix Gelato Expert.
- Pour the ice cream mixture into the machine.
- Select the appropriate setting (gelato, ice cream, or sorbet). For a creamy texture, use the ice cream setting.
- Let the machine churn for about 30-40 minutes, or until the desired consistency is reached.
- Freezing
- Once the churning is complete, transfer the ice cream to an airtight container.
- Freeze for at least 2 hours to firm up before serving.
Tips:
- Use high-quality ingredients for the best flavour.
- Pre-chill the ice cream mixture to speed up the freezing process and improve texture.
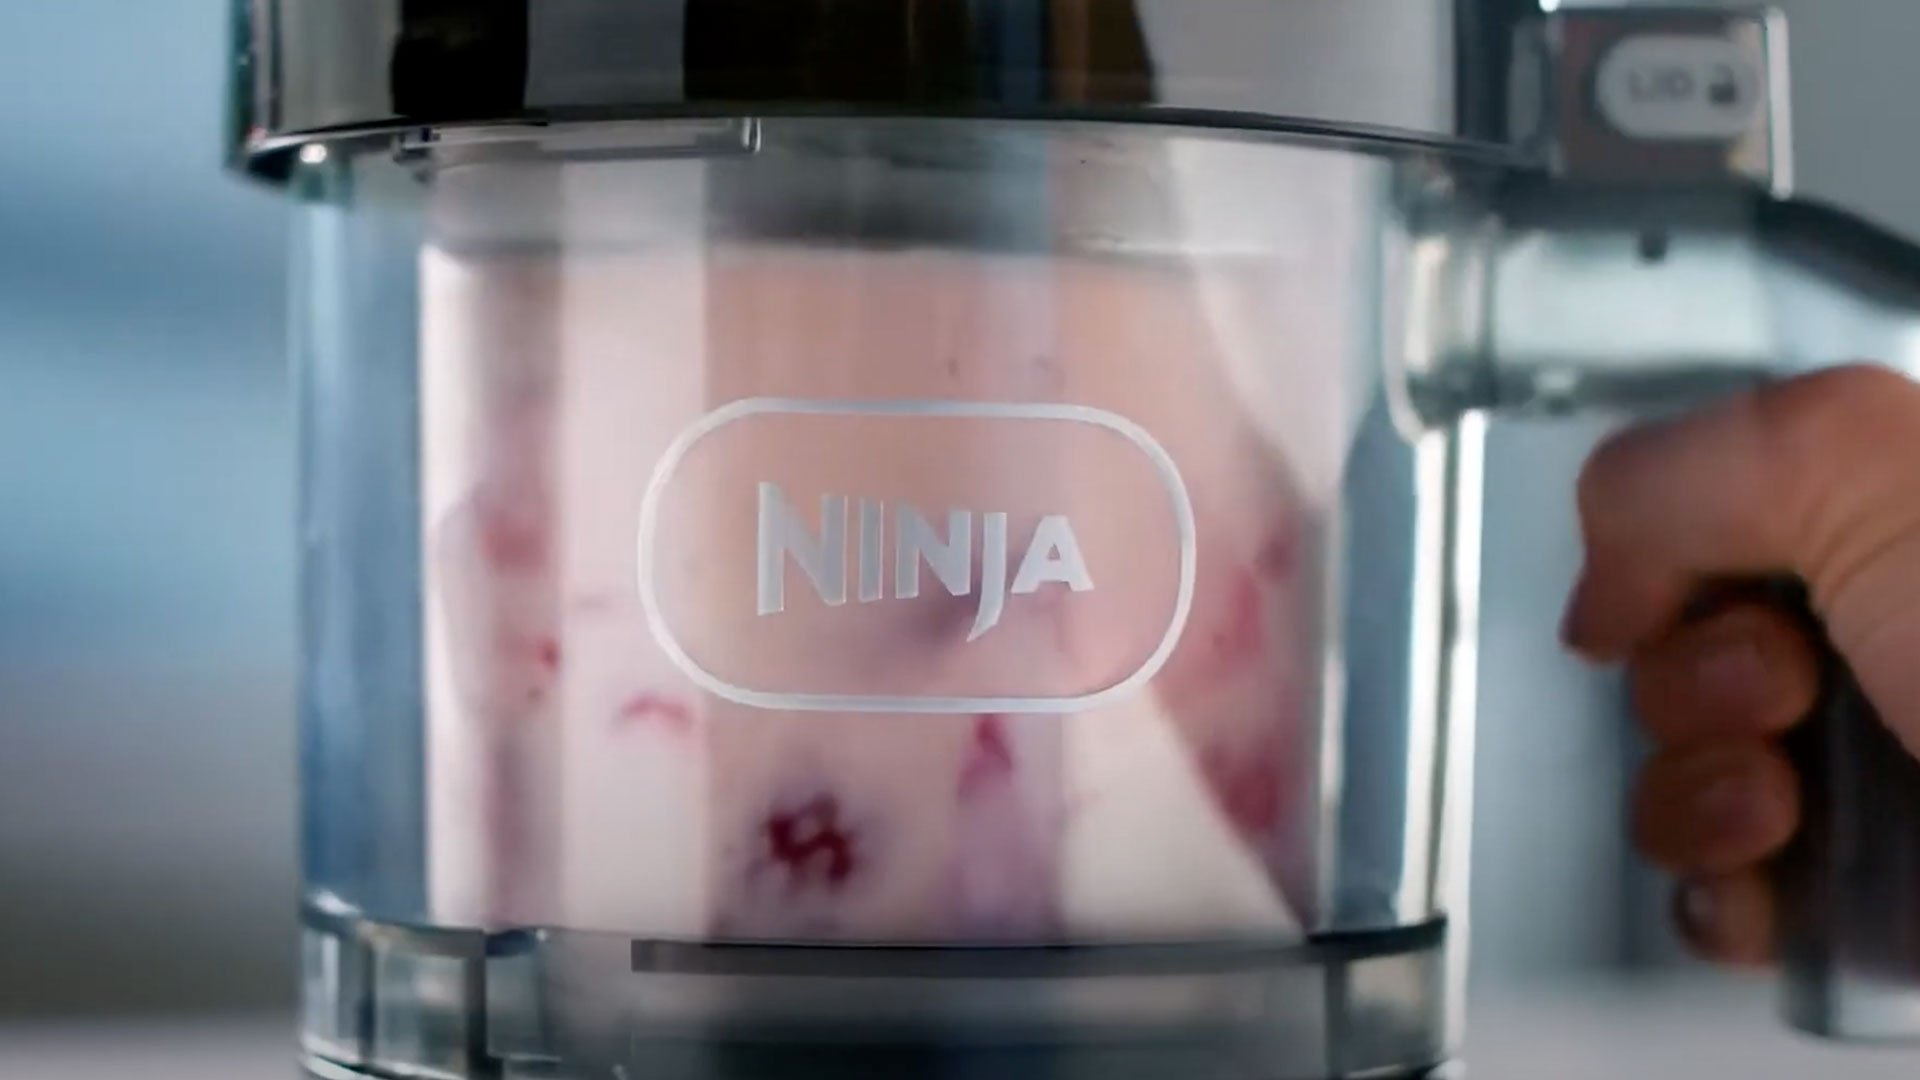
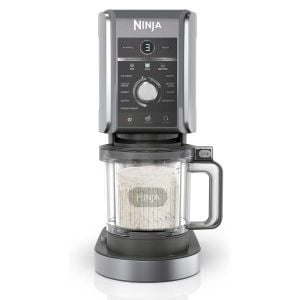
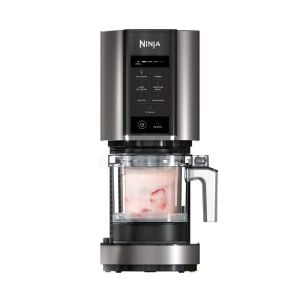
The Ninja CREAMi offers versatile dessert creation with its innovative Creamify technology. It transforms frozen bases into smooth, creamy textures, perfect for ice cream, gelato, sorbet, and more. Easy to use with multiple settings, it provides a customisable and convenient dessert-making experience at home.
- Preparation
- Begin by making your ice cream base. A simple recipe includes 1 ¼ cups of heavy cream, ¾ cup of whole milk, ½ cup of sugar, and 1 teaspoon of vanilla extract. Mix until the sugar is fully dissolved.
- Pour the mixture into the Ninja CREAMi pint container and secure the lid.
- Freeze the container upright for at least 24 hours. This is crucial for the Ninja CREAMi to achieve the proper consistency.
- Processing
- After the mixture is frozen solid, take it out of the freezer.
- Remove the lid and place the pint into the Ninja CREAMi outer bowl. Insert the outer bowl into the machine.
- Select the “ice cream” function and press start. The machine will process the frozen mixture into smooth, creamy ice cream within 2-3 minutes.
- Serving
- Scoop out the ice cream and serve immediately, or transfer to an airtight container for storage in the freezer.
Tips:
- Ensure the mixture is well-frozen before processing for the best results.
- Add mix-ins like chocolate chips or fruit after the initial processing by using the “mix-in” function on the machine.
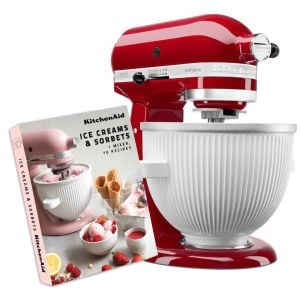
The KitchenAid ice cream bowl turns your KitchenAid stand mixer into a dessert-making machine. This accessory easily attaches to the mixer, utilising its powerful motor to churn ice cream, gelato, and sorbet. With a generous capacity and simple operation, it delivers homemade frozen treats with smooth, consistent textures.
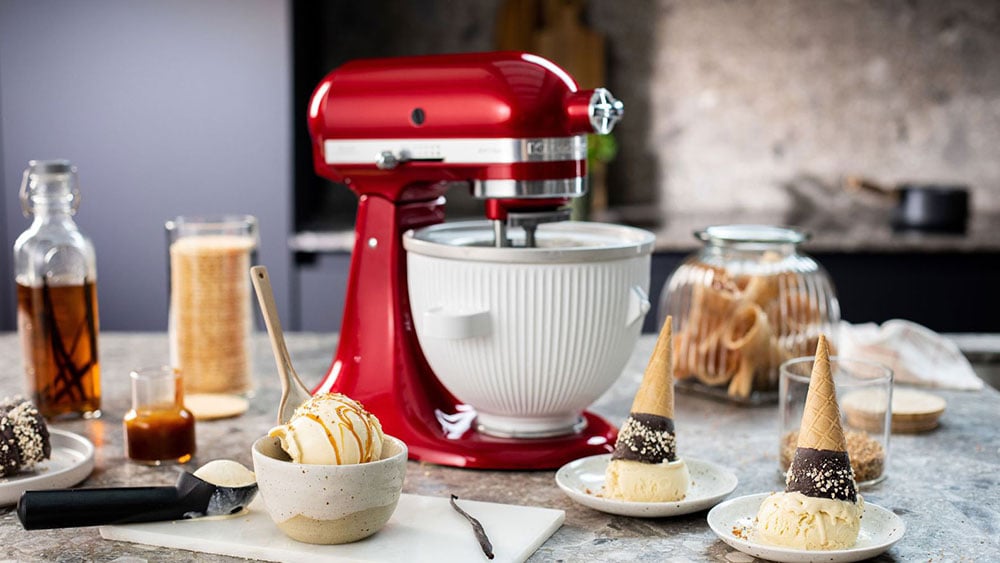
- Preparation
- Freeze the KitchenAid ice cream bowl for a minimum of 15 hours. Ensure your freezer is set to its coldest setting for optimal results.
- For a basic ice cream base, whisk together 2 cups of heavy cream, 1 cup of whole milk, ¾ cup of sugar, and 2 teaspoons of vanilla extract until the sugar is fully dissolved. Refrigerate this mixture for at least 2 hours.
- Assembly
- Attach the frozen bowl to your KitchenAid stand mixer.
- Insert the dasher (the mixing paddle) and secure it.
- Churning
- Start the mixer on the “stir” speed.
- Pour the cold ice cream mixture into the bowl while the mixer is running.
- Let the mixer churn for about 20-30 minutes until the ice cream reaches a soft-serve consistency.
- Freezing
- Once churning is complete, transfer the ice cream to an airtight container.
- Freeze for an additional 2-4 hours for a firmer texture.
Tips:
- Ensure the ice cream mixture is well-chilled before adding it to the frozen bowl.
- Experiment with flavours by infusing the cream mixture with ingredients like mint leaves or coffee beans before straining and chilling.
Don’t forget…
- Ingredients: Use high-quality ingredients, including fresh dairy and pure flavour extracts.
- Chilling: Always pre-chill your mixture and ensure your equipment is properly frozen.
- Flavour Infusions: Get creative with flavours. Infuse your base with herbs, spices, or even teas.
- Mix-ins: Add textures like nuts, chocolate chunks, or fruit. For best results, add these towards the end of churning.
- Storage: Store ice cream in airtight containers to prevent freezer burn and keep it creamy.
By following these simple guidelines and using the fantastic features of the Magimix Gelato Expert, Ninja CREAMi, and KitchenAid Ice Cream Bowl, you can create delightful homemade ice cream with a perfect texture and flavour every time. Enjoy the process and indulge in the sweet results!
